Connect to Business Central
Instructions for sharing business data from your Business Central account
To establish a digital connection with Dynamics 365 Business Central (BC) and enable your financial institution to access your financial data, follow the Link URL provided to you and complete these steps:
-
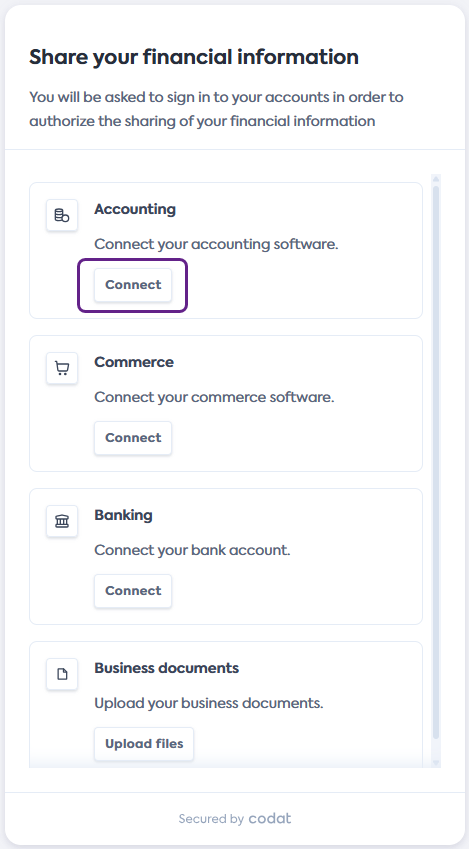
On the Share your financial information screen of the connection flow, click Connect in the Accounting tile to initiate a connection to Dynamics BC.
You might not see this screen if your financial institution disabled this selection. In this case, proceed to the next step.
-
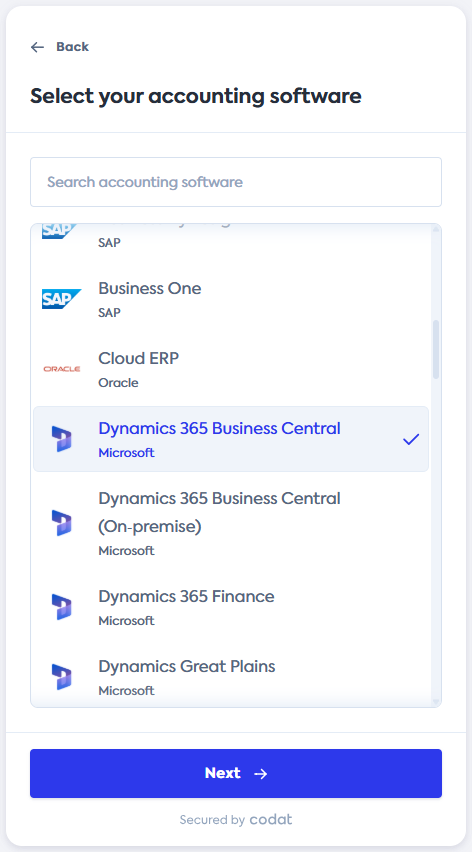
On the Select your accounting software screen, scroll or search for Dynamics BC. Click the tile to select, then click Next.
-
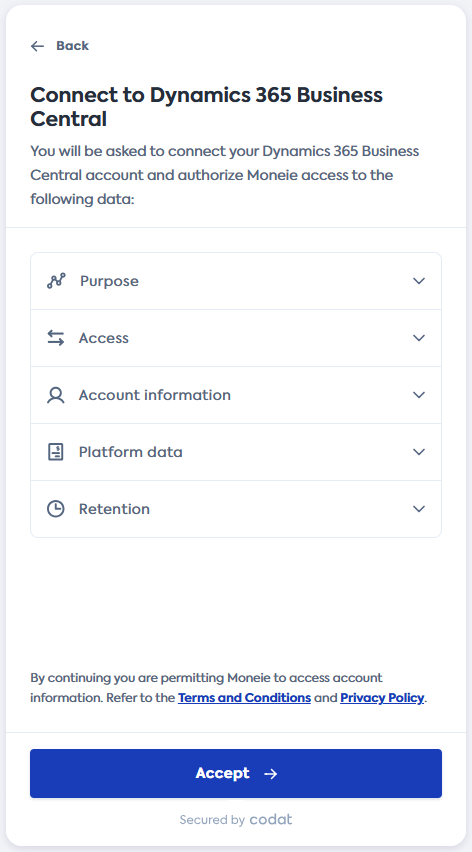
On the Connect to Dynamics 365 Business Central screen, review how your data will be shared, then click Accept.
-
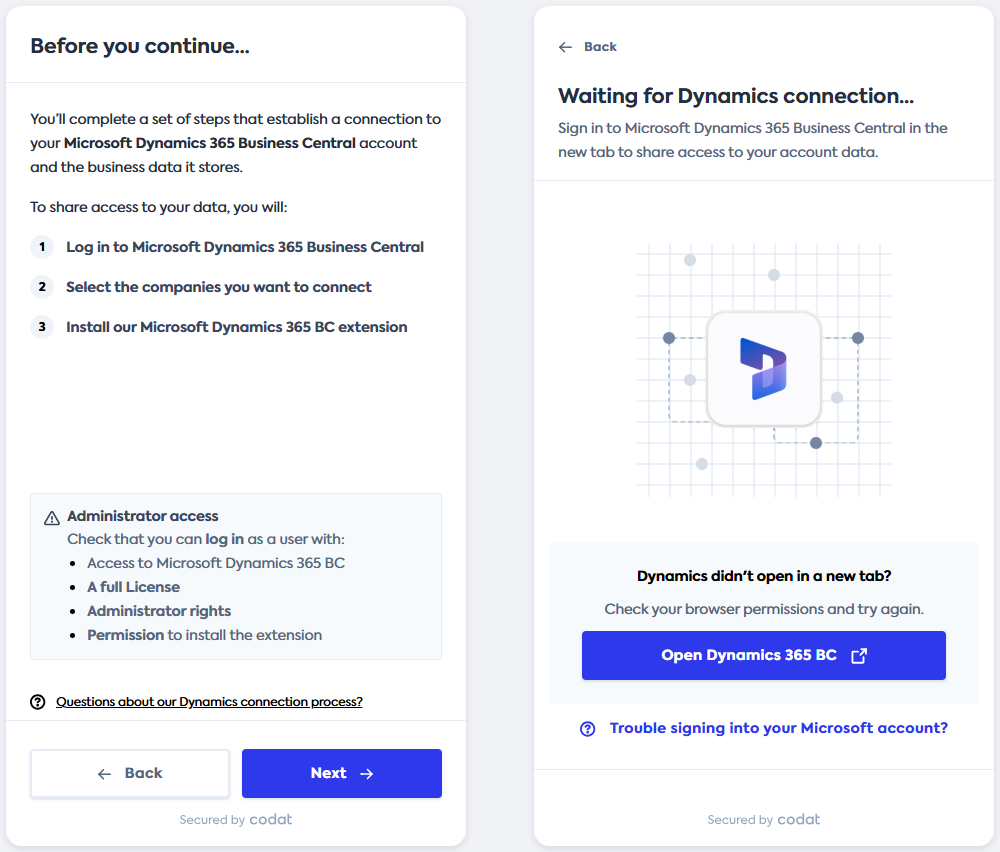
In the Before you continue... screen, review the steps required to establish the connection. Confirm that you have the required administrator accesss as detailed, then click Next.
The Dynamics BC connection window will open in a new tab and the connection flow will update to the Waiting for Dynamics connection... screen. This screen has a detailed troubleshooting guide at the bottom if you encounter any errors while connecting.
-
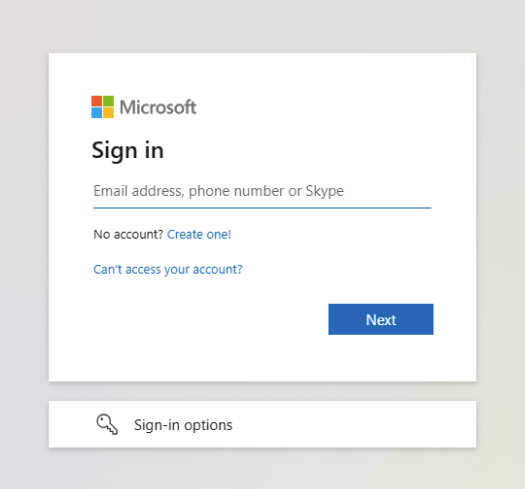
Log in using your Dynamics 365 Business Central credentials and click Next.
Your credentials remain secure during this process and are not shared with Codat or your financial institution.
-
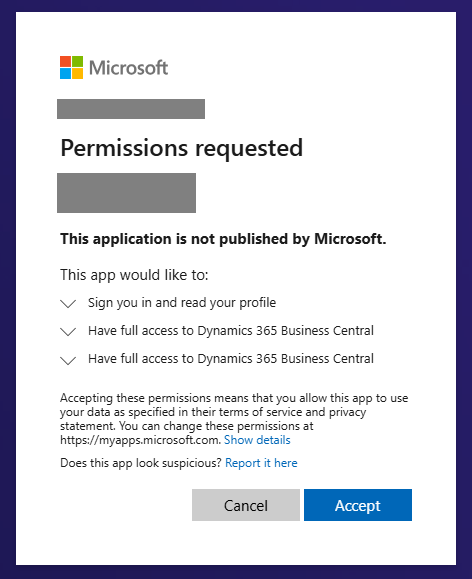
Review the permissions required to gather data from Dynamics 365 Business Central and click Accept.
-
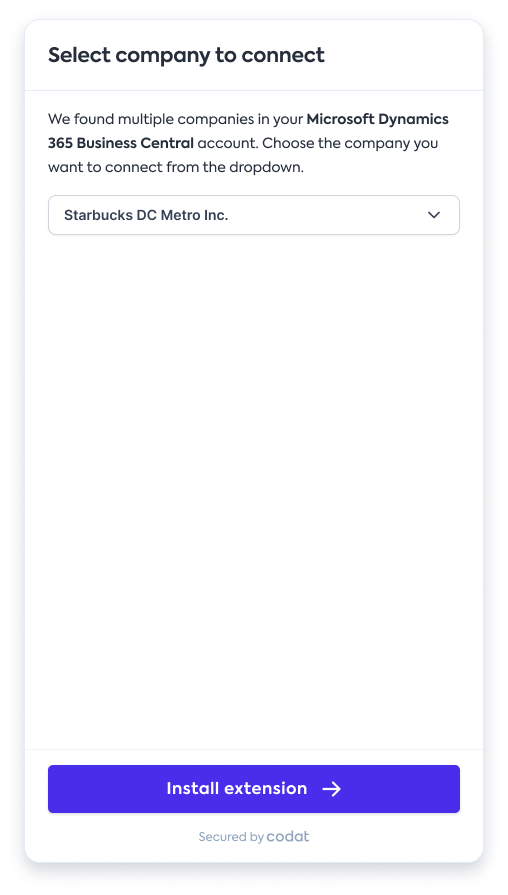
You will be redirected back to the connection flow. Select the company or companies you want to share the data for, then click Install extension.
- Select companies
- Select company

-
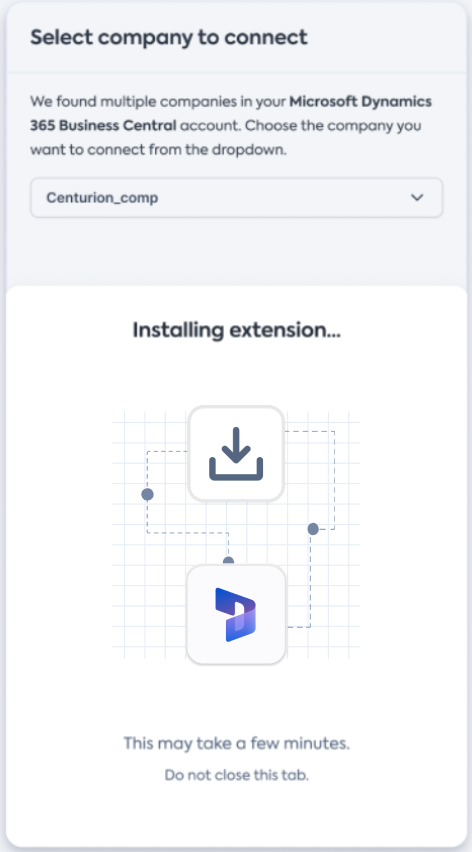
The extension installation will begin and may take 5 to 10 minutes to complete. Keep this screen open. It will automatically progress once the installation completes.
-
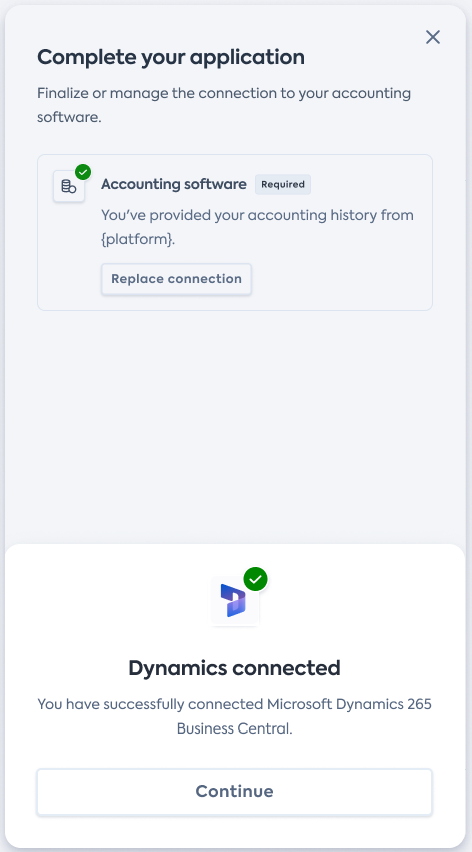
Once the extension is installed, click Continue on the Dynamics connected screen to complete the connection.
Interactive walkthrough
Alternatively, follow our walkthrough below to see each step in practice. Click the pulsing dot to begin.