Create Integration System User
Get help if you have questions or experience issues when configuring an integration system user and associated security policies in Workday
Establising a digital connection with Workday requires you to configure specific user and security settings that grant us the necessary permissions to access your data and perform actions securely. This ensures that have the access required for the connection to operate correctly.
To create and configure the user, we will take you through a 3-step process:
Create integration system user
Creating an Integration System User establishes a special user account for this digital connection. It enables this user to interact with your Workday instance without using a personal user login.
To create an integration system user, complete these steps in Workday:
-
Search for and select the Create Integration System User task.
-
In the Create Integration System User dialog window, complete the following:
- Enter a User Name.
- Set a unique password in both New Password and New Password Verify fields.
- Verify that the Require New Password at Next Sign In checkbox is unchecked.
- Check the Do Not Allow UI Sessions checkbox.
-
Copy the User Name and New Password and paste them in the corresponding fields in the connection flow.

-
Click OK to create the user.
Create security group
A dedicated security group allows you to manage specific access permissions assigned to the Integration System User. To create a security group, complete these steps in Workday:
-
Search for and select the Create Security Group task.
-
In the Create Security Group dialog window, complete the following:
- Set Type of Tenanted Security Group to Integration System Security Group (Unconstrained).
- Enter a Name and make note of it.
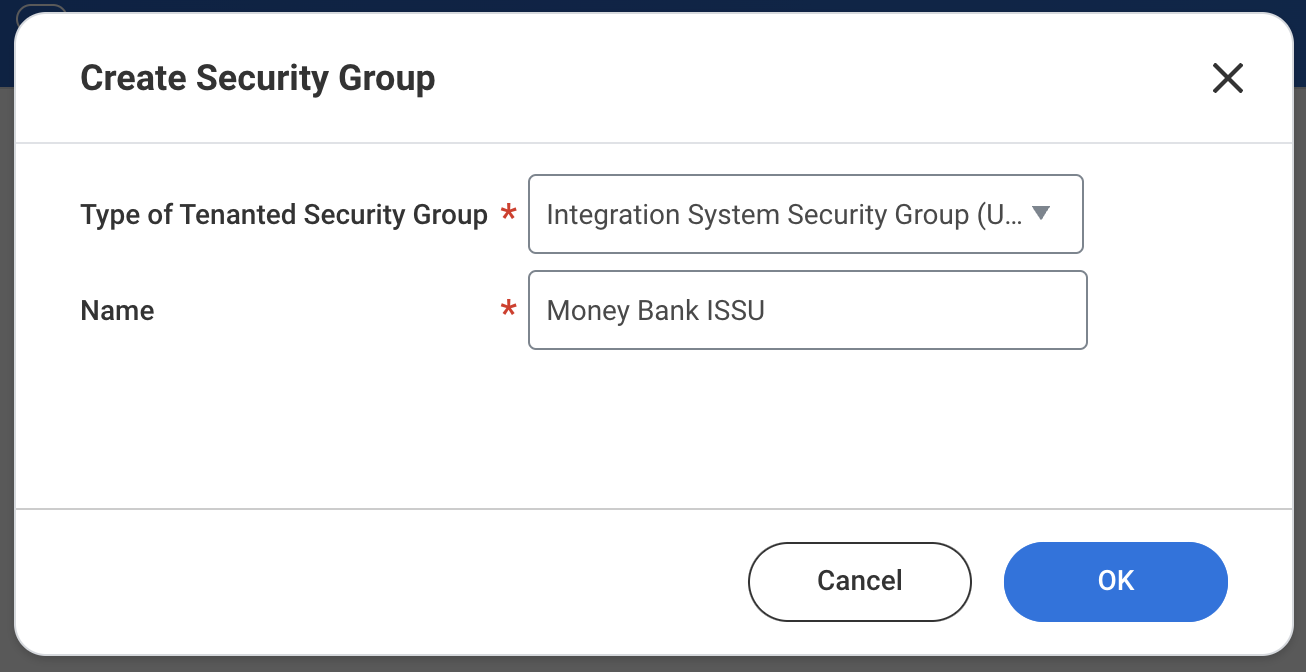
-
Click OK.
-
In the Edit Integration System Security Group window, enter the integration system user name you created in the previous step into the Integration System Users field.
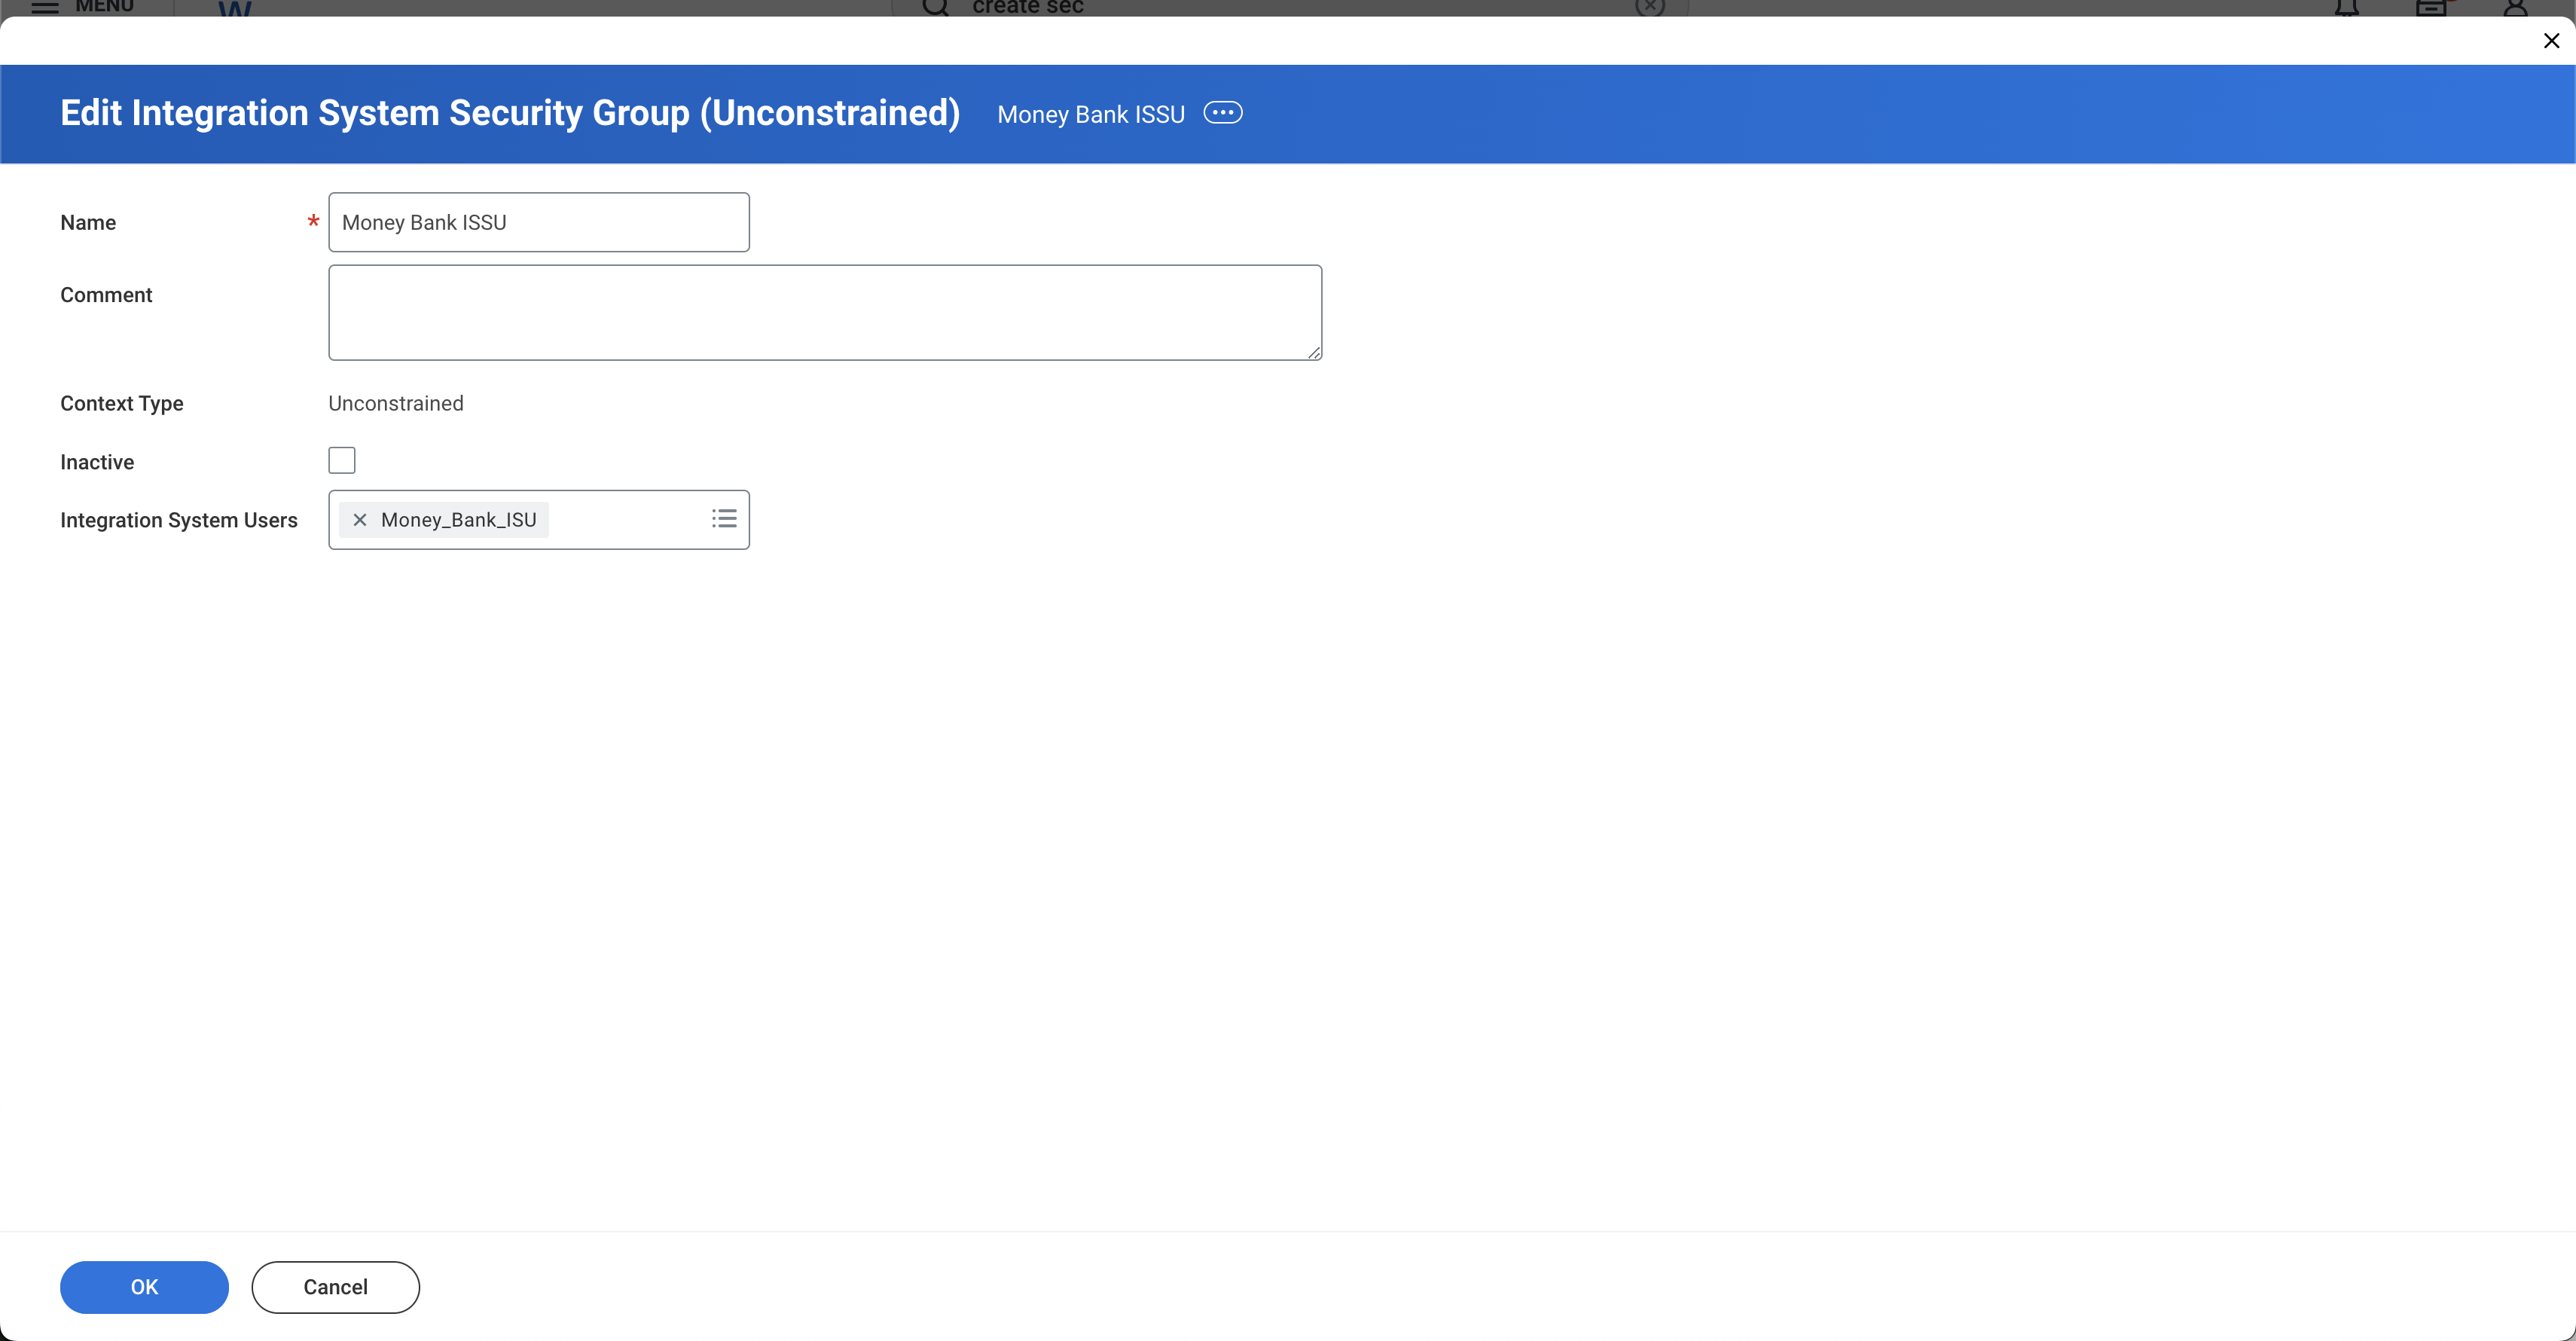
-
Click OK, then Done to complete security group creation.
Configure security group policies
Configuring security group policies grants the specific permissions needed to access required Workday data and perform necessary actions, such as retrieving supplier information or processing invoices.
To configure security group policies, complete these steps in Workday:
-
Search for and select the Maintain Permissions for Security Group task.
-
In the Maintain Permissions for Security Group dialog window:
- Enter the security group name in Source Security Group.
- Click OK.
-
In the Domain Security Policy Permissions tab, add the following domain security policies with View/Modify Access set to Get and Put. We recommend copying and pasting the policies listed below into the Maintain Permissions for Security Group dialog individually.
View/Modify access Domain Security Policy Get and Put Manage: Organization Integration Get and Put Process: Ad Hoc Payment (NEW) Get and Put Process: Journals - View Get and Put Process: Supplier Invoice Get and Put Process: Supplier Invoice Payment/Settlement Get and Put Reports: Supplier Get and Put Reports: Supplier Payment Get and Put Set Up: Accounts Get and Put Set Up: Company Accounting Get and Put Set Up: Company General Get and Put Set Up: Settlement Get and Put Set Up: Supplier Accounts Get and Put View: Organization Journals Get and Put View: Supplier Get and Put View: Supplier Invoice Request 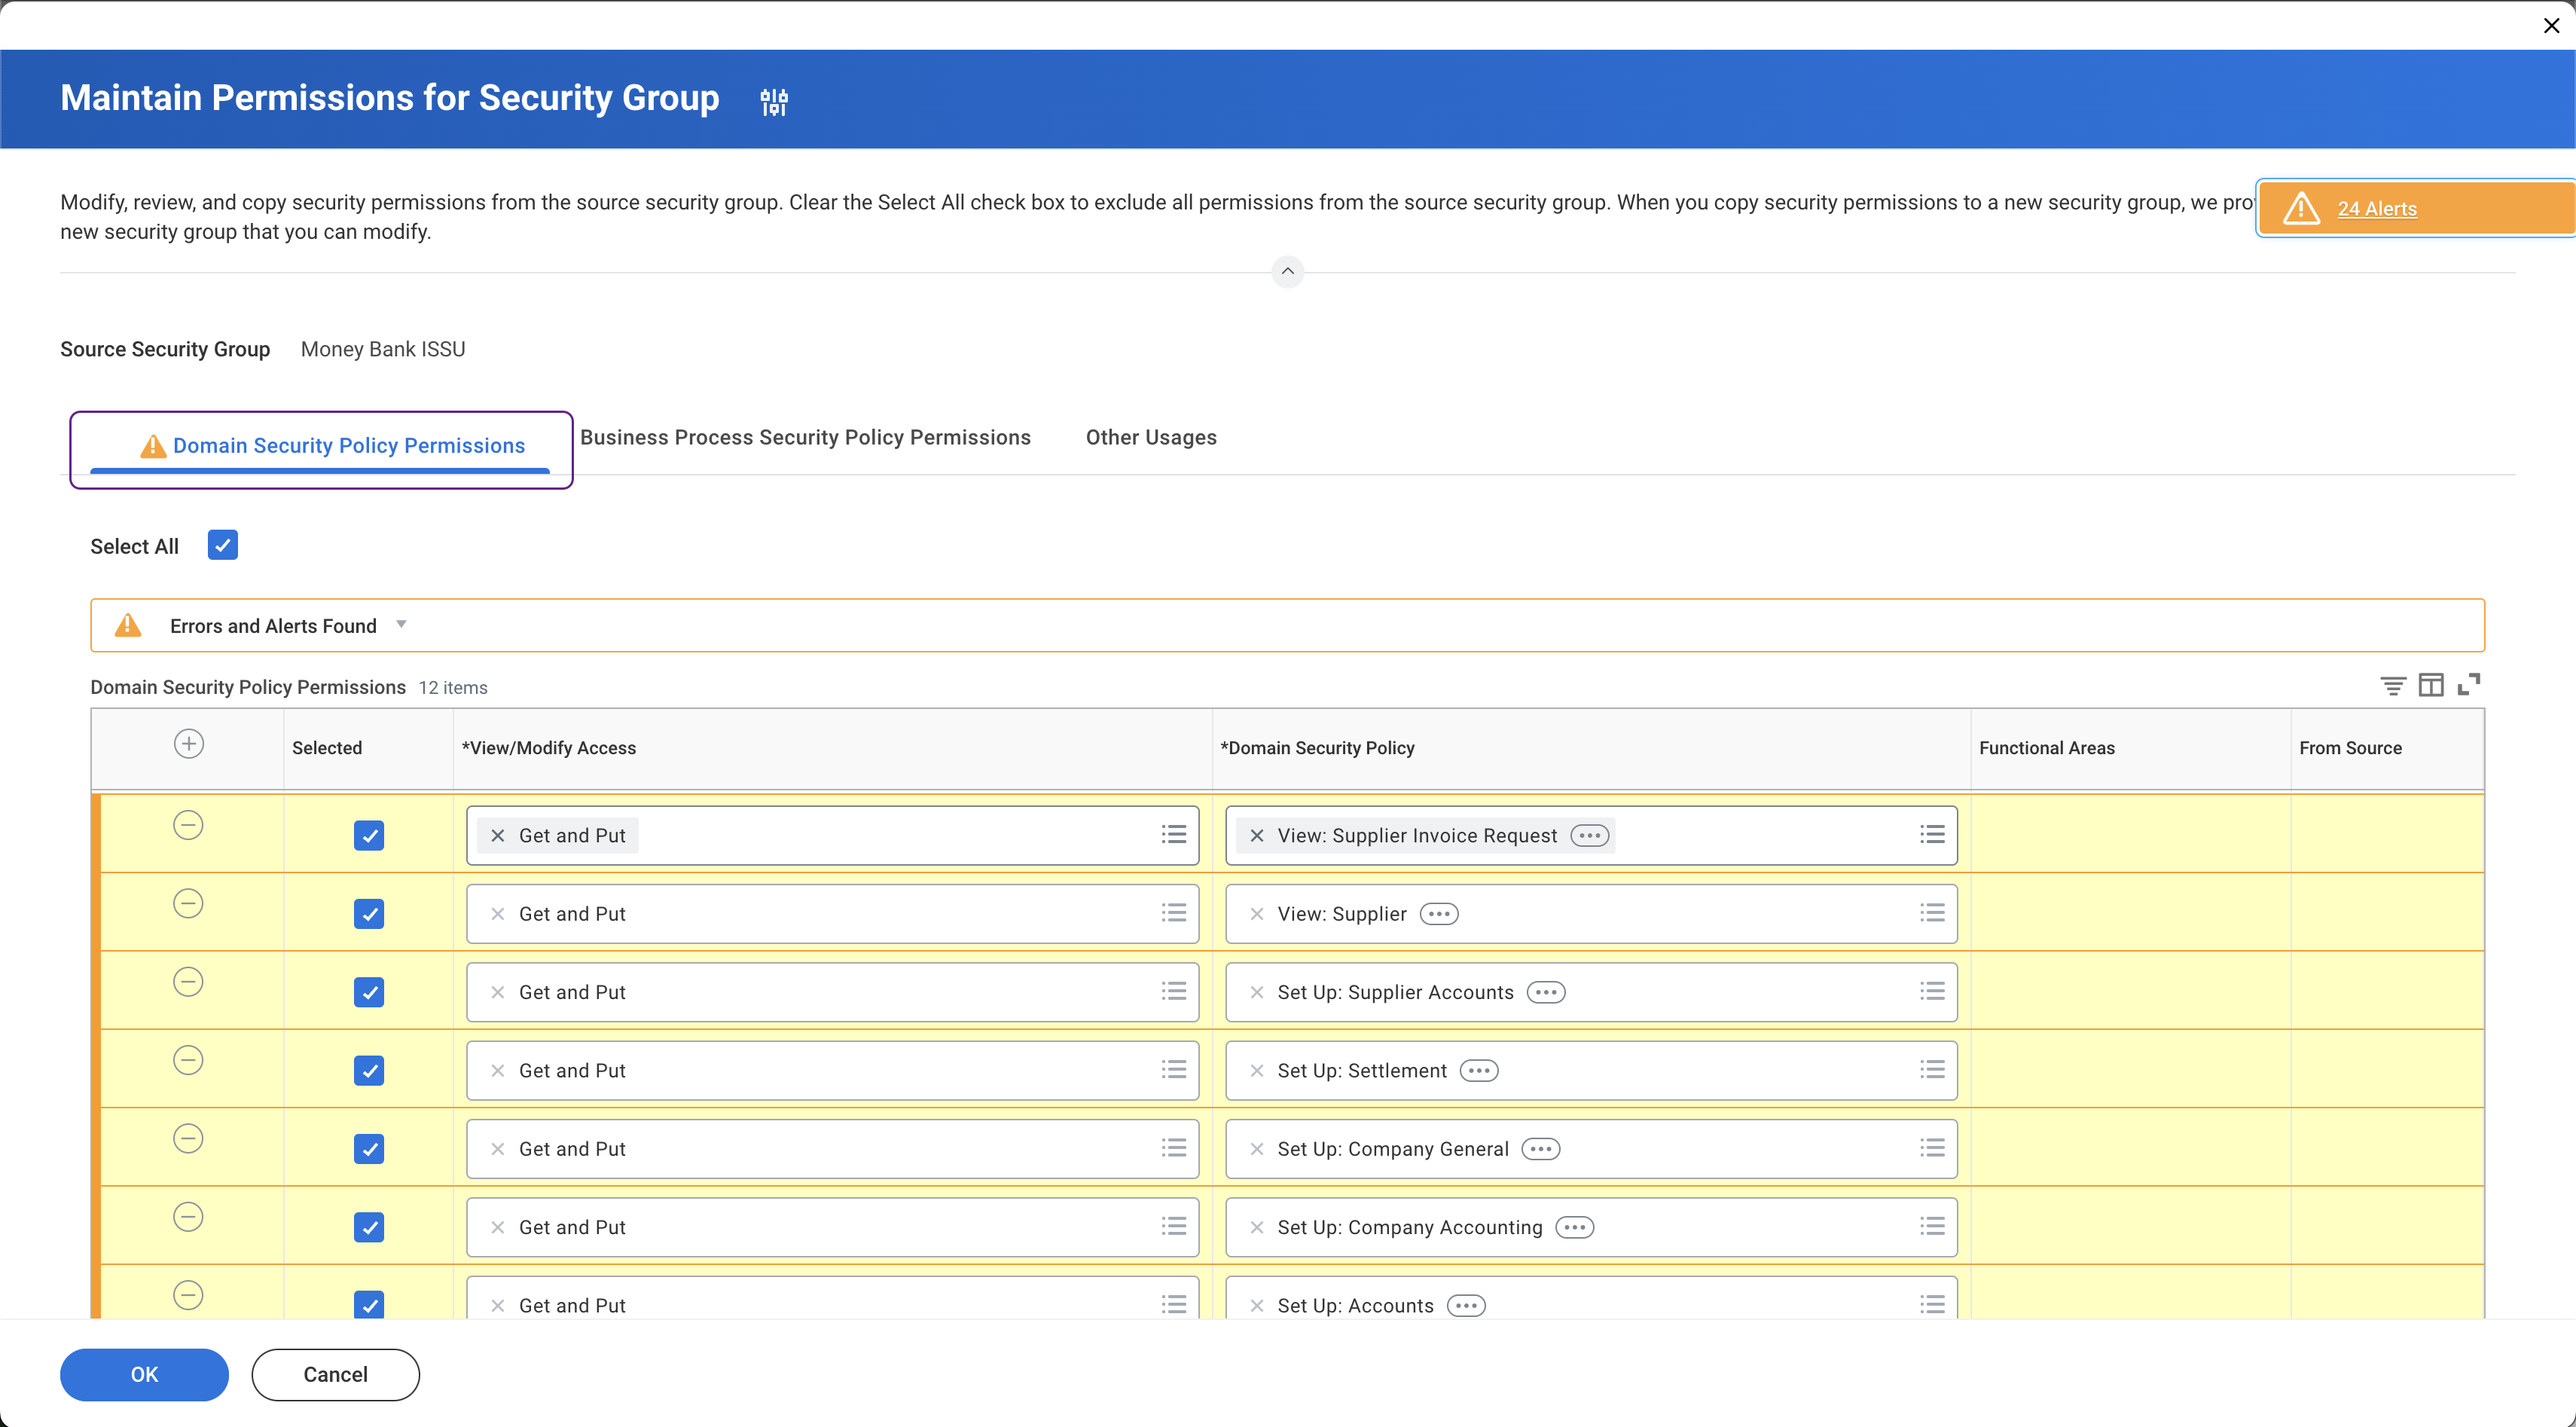 Check domain policies are enabled
If you experience issues connecting to your Workday instance, check that all the required security policies are enabled. See our detailed guidance on checking domain security policies.
-
Ignore any errors or alerts, click OK, then click Done.
-
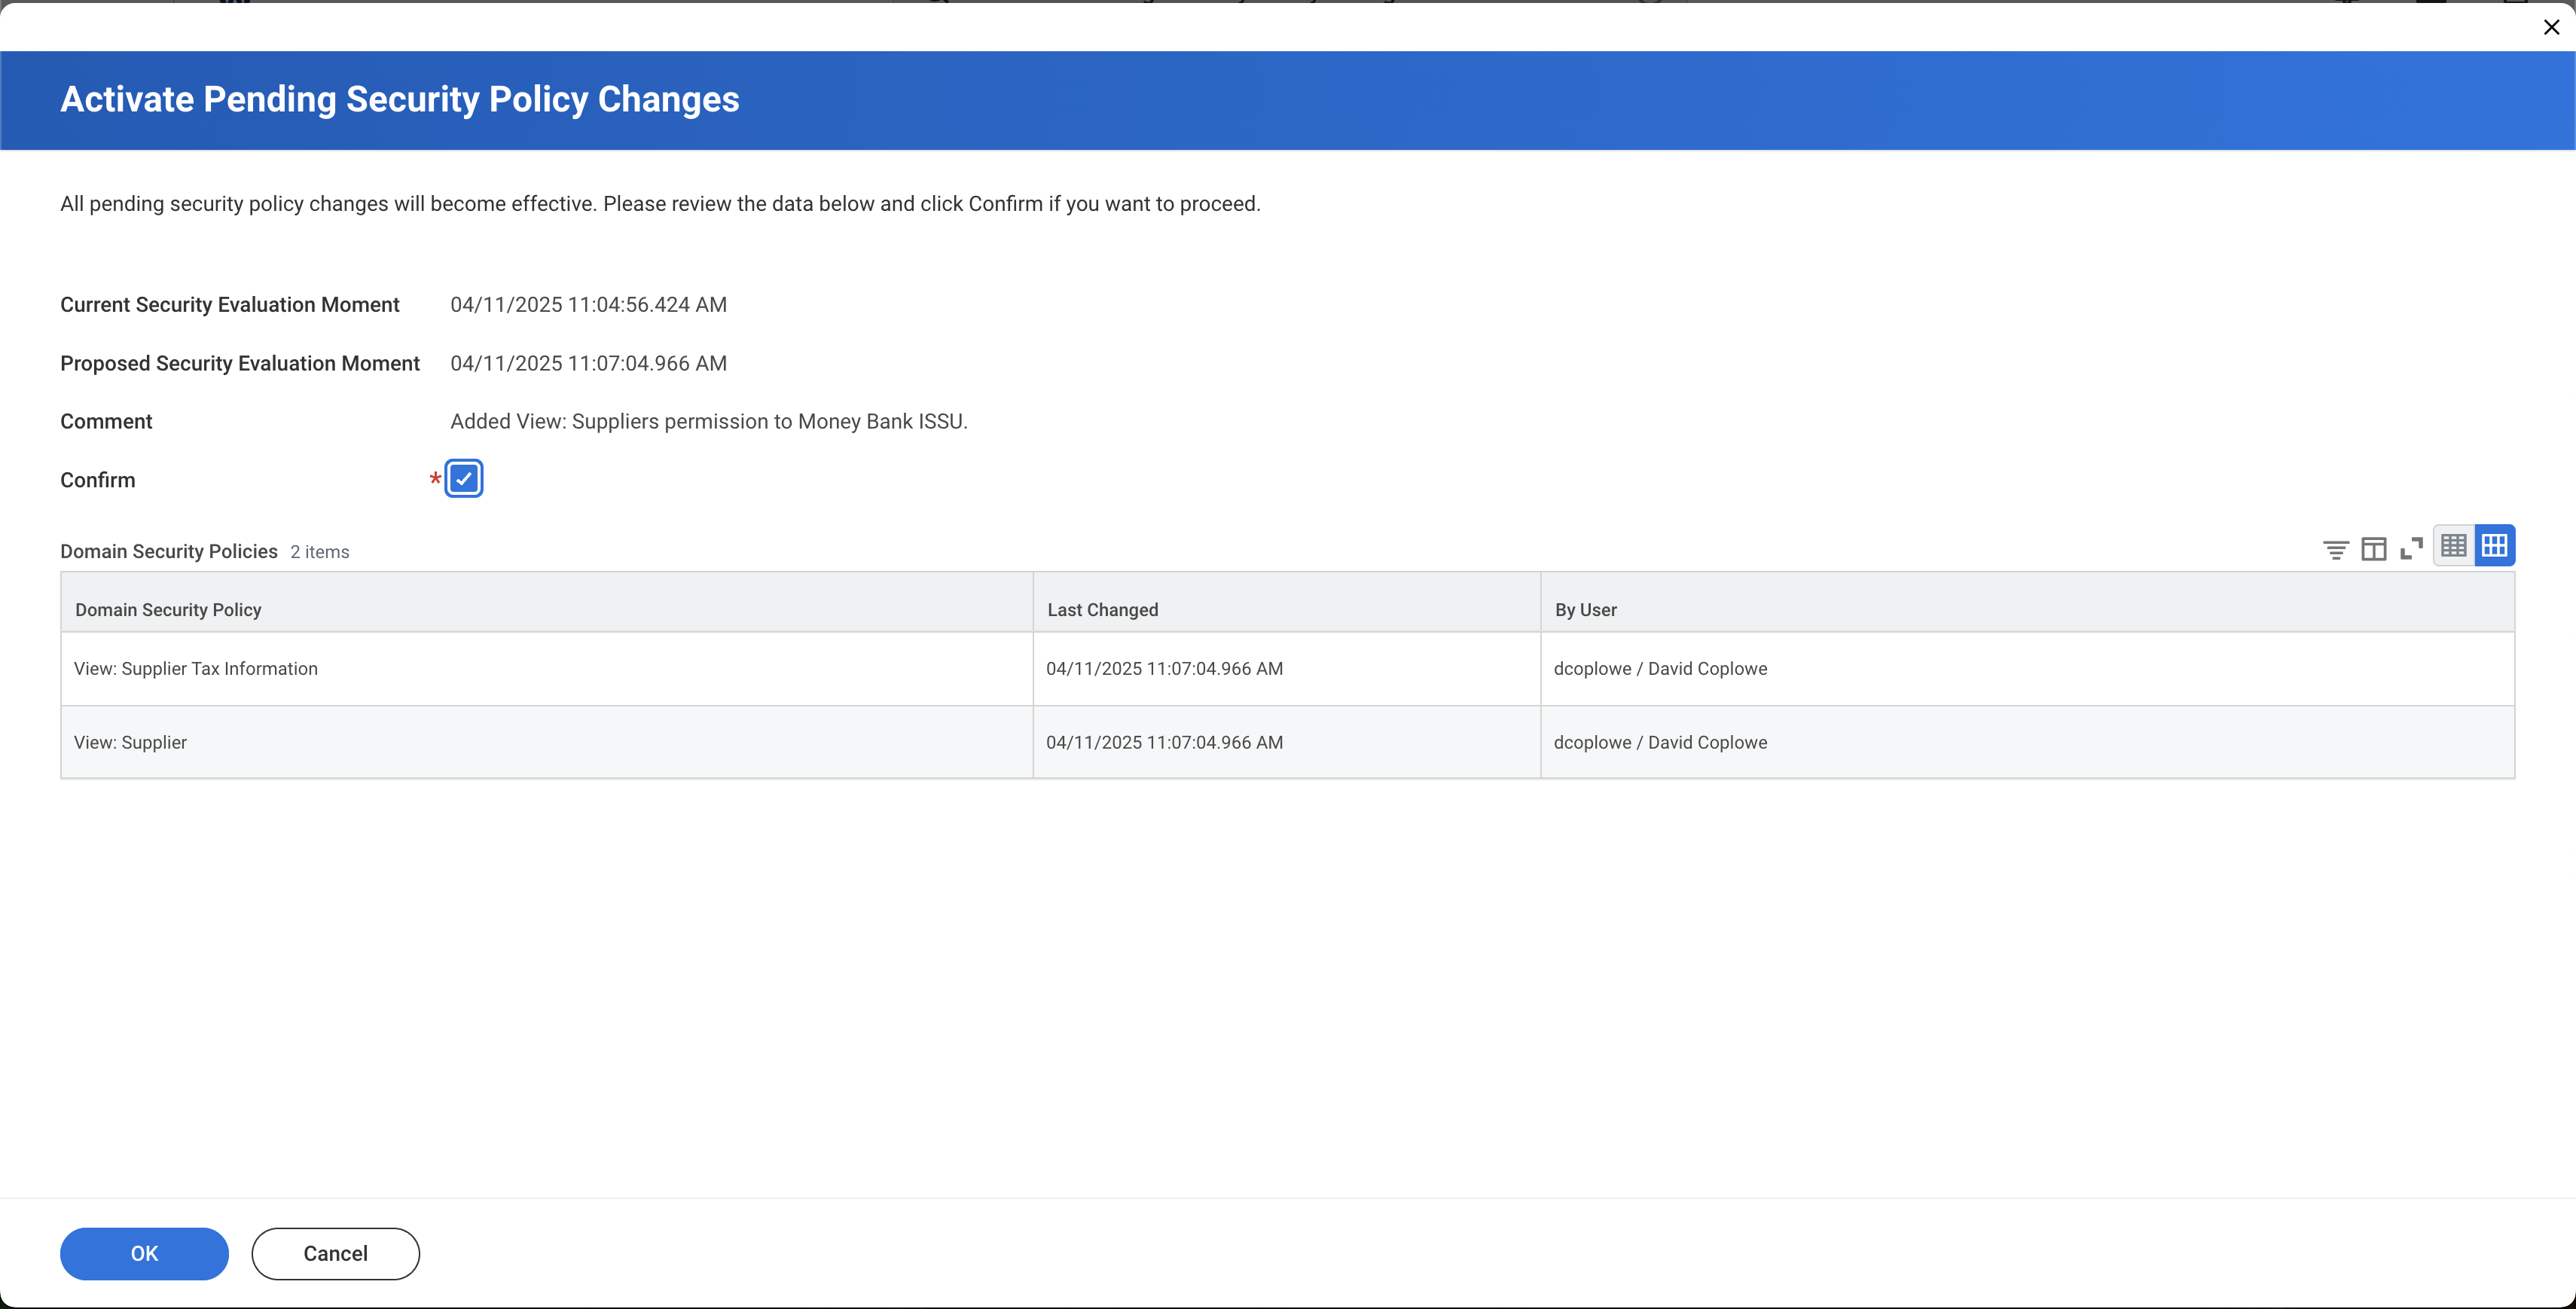
Search for and select the Activate Pending Security Policy Changes task.
-
In the Activate Pending Security Policy Changes dialog, complete the following:
-
Enter a Comment, then click OK.
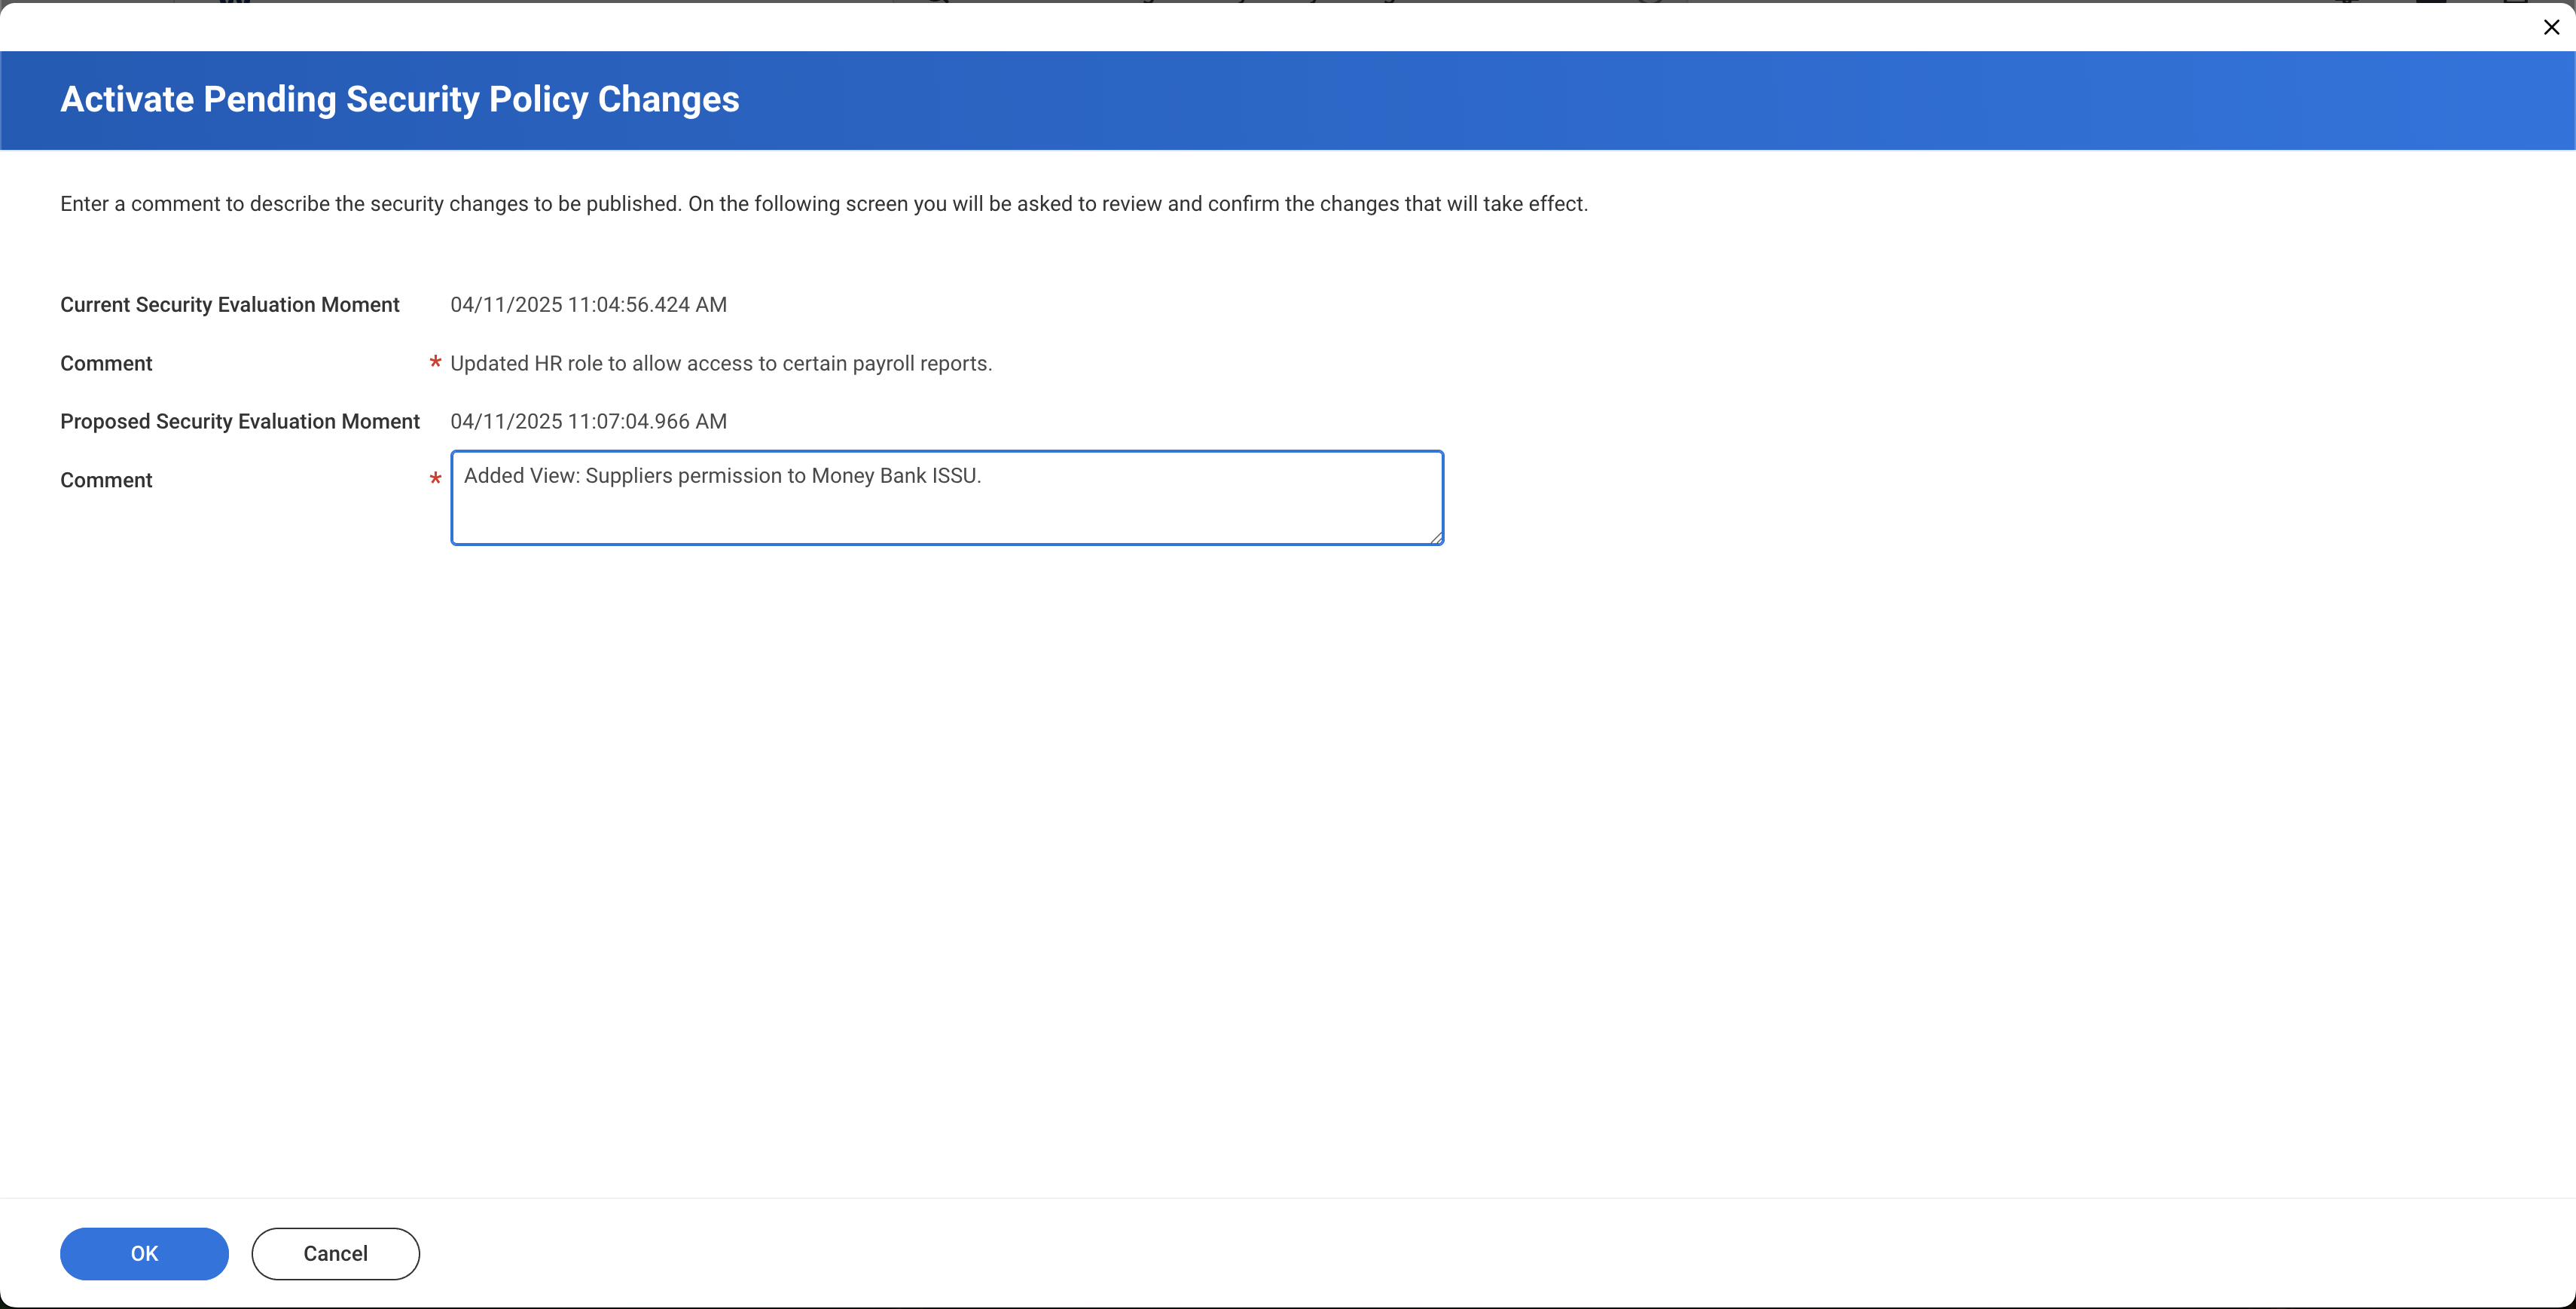
-
Check Confirm, then click OK to activate the policies.
-